Use CoinPayments in your Business

Now that you have finished setting up your CoinPayments account and adjusting the settings to your liking, it’s time to move on to the next step.
This is where the details you recorded in STEP 1 will be used (Merchant ID, IPN Secret, API Public Key, API Private Key), in order to link your eCommerce store to your CoinPayments account.
Depending on how much automation you’re looking for and what type of platform you use to conduct your business activity, CoinPayments can be integrated via different tools available to businesses:
-
- Pre-Built eCommerce Plugins
- Custom APIs
- Payment Buttons
- Invoice Links
- In-Person Payments using App or POS
1) Pre-Built eCommerce Plugins
There’s a full list of the pre-built plugins and integrations for all the major eCommerce platforms.
Scroll through the list of pre-built plugins and integrations and find the one corresponding to the eCommerce platform your business uses.
Then, download the plugin that corresponds to your eCommerce platformInstall the plugin and edit the settings.
Next, enter your MERCHANT ID and your IPN SECRET into the plugin settings to complete the integration.
(For Shopify users, the process is slightly different. Click here to learn more).
2) Custom APIs
Businesses who have built a custom eCommerce platform can take advantage of the well documented set of APIs to complete the integration.
Our APIs are the ideal way to integrate CoinPayments into unique types of businesses, like platforms that deal with payments for their users, membership sites, online gaming sites, and any other type of business looking for automation with cryptocurrency payments.
There’s an overview of how our APIs work, the payment process, and the two main types of payments.
To Customize your APIs:
- Start by reviewing the documentation of our Instant Payment Notifications (IPNs). This will help give you an idea of what details you can expect to receive via the response from the IPN.
- After reviewing the document, you should examine the 2 different types of transactions used for accepting payments. Once you decide the appropriate function to use, you can review the rest of the documentation for our APIs.
- Keep in mind, when using our APIs, you will need to reference your API PUBLIC KEY and API PRIVATE KEY from STEP 1
- When you have completed your integration using our APIs, make sure to test it out using a free cryptocurrency we support called Litecoin Testnet.
3) Payment Buttons
The Payment Button integration can help businesses quickly incorporate cryptocurrency payments on a website.
This feature is ideal for businesses who have single product offerings, charities that want to add a donation button, or any other business where the price linked to a button is fixed (ie. no cart with multiple products being added/removed).
You can get started with a Simple Payment Button, or you can use an Advanced Payment Button for allowing users to modify quantities. If you’re a charity, you can take advantage of a Donation Button with presets or adjustable amounts.
This step will require your MERCHANT ID or if you’re logged into CoinPayments, the field will be automatically filled in.
Once you have filled in the appropriate information for your button, and selected an image to use for your button, click the “Generate Button” button at the bottom of the page.
You will be redirected to a page where we will provide the html code for the button you just designed. Copy the code and insert it wherever appropriate on your website.
4) Invoice Links
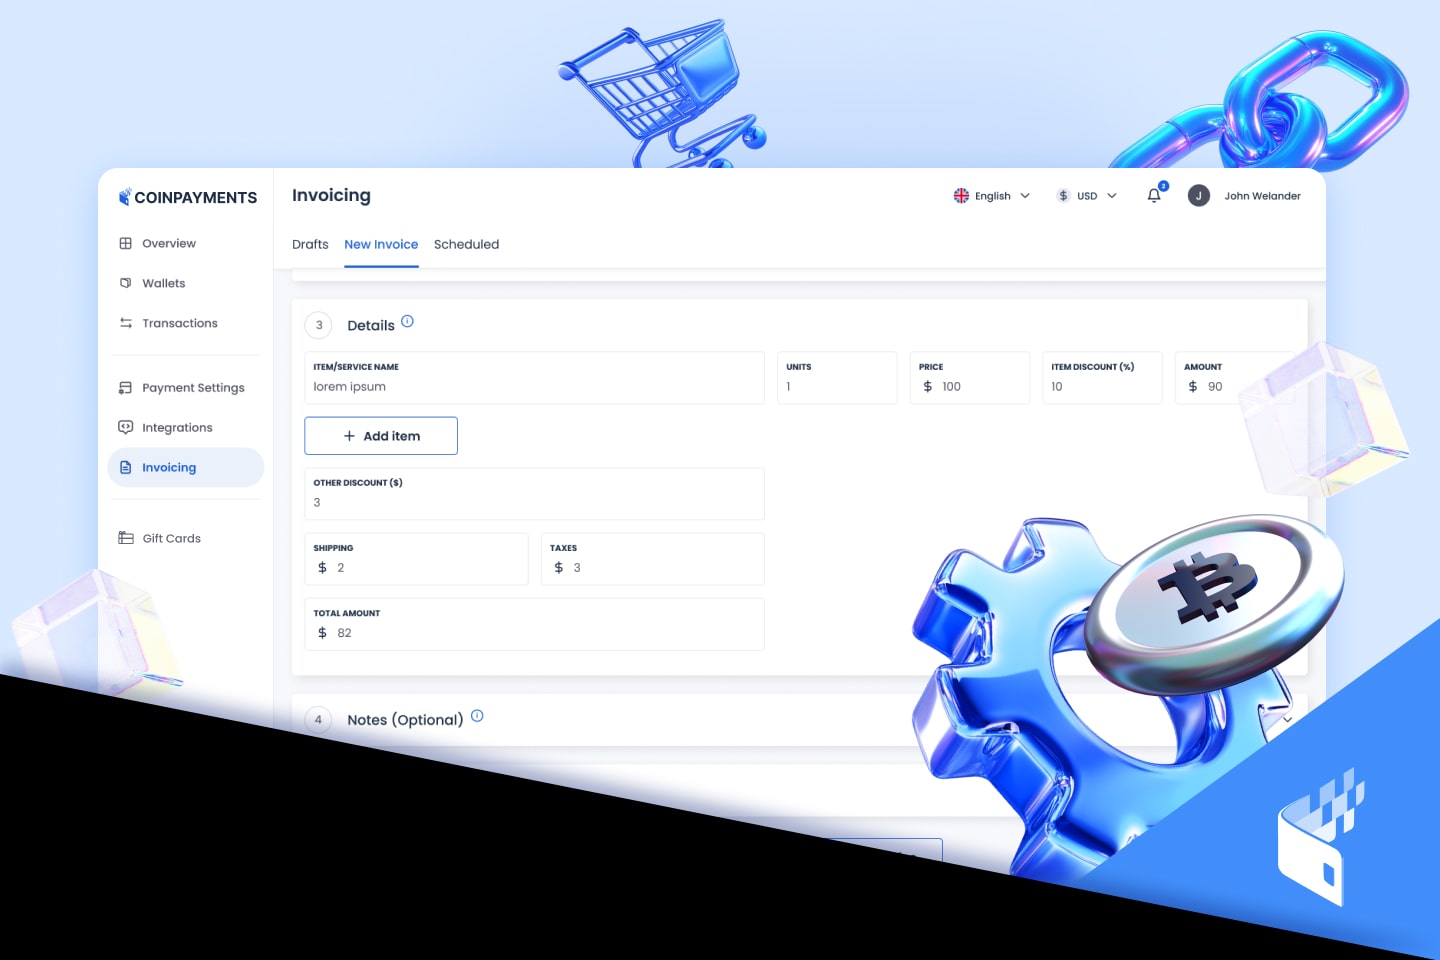
Businesses that invoice clients for their products or services can use our Invoice Builder to create an invoice for a client and email them the link. When the customer decides to pay the invoice, they just have to click the link and follow the prompts.
To get your payment link, you need to fill out the information in the Invoice Builder. To proceed, you will require your MERCHANT ID or if you’re logged into CoinPayments, the field will be automatically filled in.
The invoice link that’s generated is quite long, so you may want to check the last box “Shorten URL with goo.gl” for a shorter link.
Once you fill in the appropriate information for your invoice link, click the “Generate Link” button at the bottom of the page. This will redirect you to a page where we will provide the link you just generated. From then, you can copy the link and send it to your customer.
5) In Person Payments
If you wish to use CoinPayments to accept cryptocurrency payments in store or in person, all you need is either a phone/tablet with the CoinPayments App or a computer with the CoinPayments.net site.
Both methods use the POS feature, where the business will enter the amount to charge the customer, select the payment coin, and hand over the payment screen to the customer in order to complete the payment.
Using the CoinPayments App
Download the CoinPayments App from the Play Store for Android or the Apple App Store. Then, sign into your CoinPayments account via the App ( you only need to do this once when setting up the App).
When you open the CoinPayments App after setting it up, select the top “POS” option, and enter the amount of the payment you want to accept. Then, select the type of coin for the payment, and show the customer the resulting payment address/QR code so they can complete the payment.
Using the CoinPayments Website
Go to this link if you are using a desktop or laptop. This step will require your MERCHANT ID or if you’re logged into CoinPayments, the field will be automatically filled in.
Change the initial amount to anything you want (we suggest $0.00). This is only the pre-populated amount in the POS entry system and will be changed for every transaction.
Select whether you would like users to be able to change payment currencies. Then, click “Generate Link” at the bottom of the page.
Once that is completed, copy this POS Link that was generated and save it somewhere handy. This is the link you will go to every time you want to access the POS system to accept an in-person payment from a customer.
When a customer wants to make a payment, go to the POS Link and fill in the amount of the payment you want to receive. Select a coin for payment and show the customer the resulting payment address/QR code so they can complete the payment.
Now that you’re familiar with the various ways you can accept payments from your customers using the CoinPayments platform, you will be able to better decide which method is ideal for your business.